How to setup your Multi-Factor Authentication (MFA) methods
This document provides the instructions on setting up the Multi-Factor Authentication for your Diné College account. This is to ensure that all Diné College accounts are secure and protected. Please read through it carefully and follow the instructions.
Need help? Contact the Diné College IT Department at 928-724-6675.
Step 1: Navigate to ‘MyDCPortal’.
Step 2: Sign in using your Diné College credentials
Once you sign in, you will be prompted to verify your Diné College email.
Step 3: Click on your Diné College email address to send a code to your email
Step 4: Open another tab in your web browser and go to https://portal.office.com (if you have your Diné College email setup on your mobile device you can receive the code from there).
Step 5: Enter your Diné College email address then click Next.
Step 6: Enter your Diné College password then click Sign in.
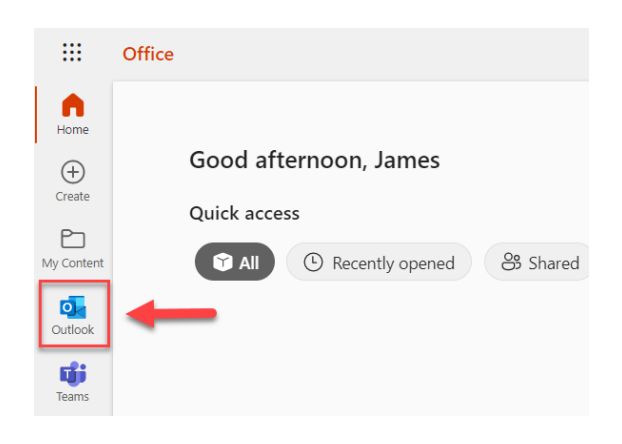
Step 7: Once signed in, click on the Outlook icon on the left navigation to open your email.
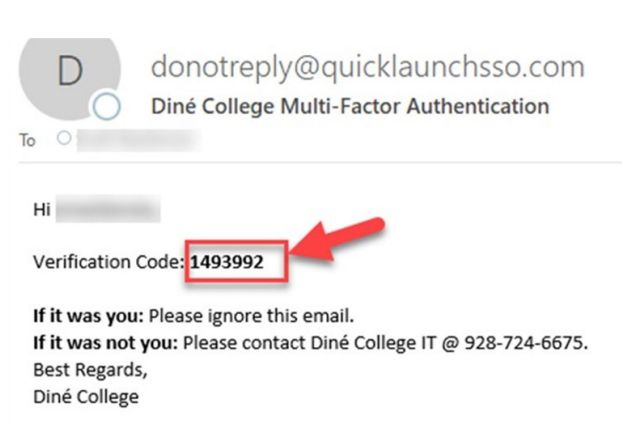
Step 8: Navigate to the email that contains the verification code. Make note of the code. (Be sure to check the Spam or Junk folders. If do not receive the code after 2-5 minutes, try sending the code again.)
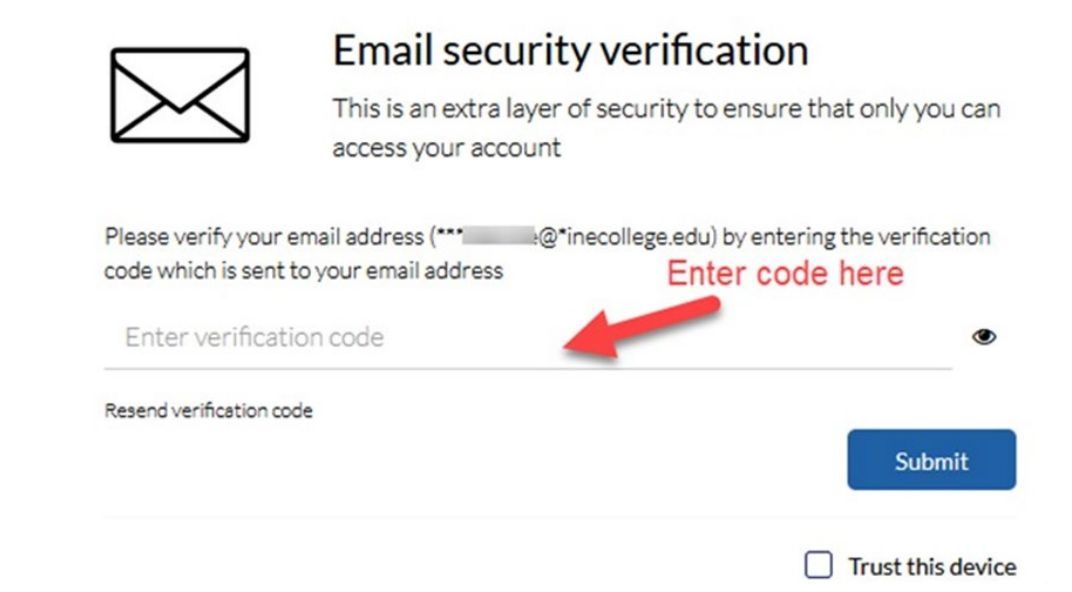
Step 9: Go back to the verification screen (it may be on the previous tab in your web browser).
Step 10: Enter in the verification code you received from your email in step 8.
Step 11: Click Submit
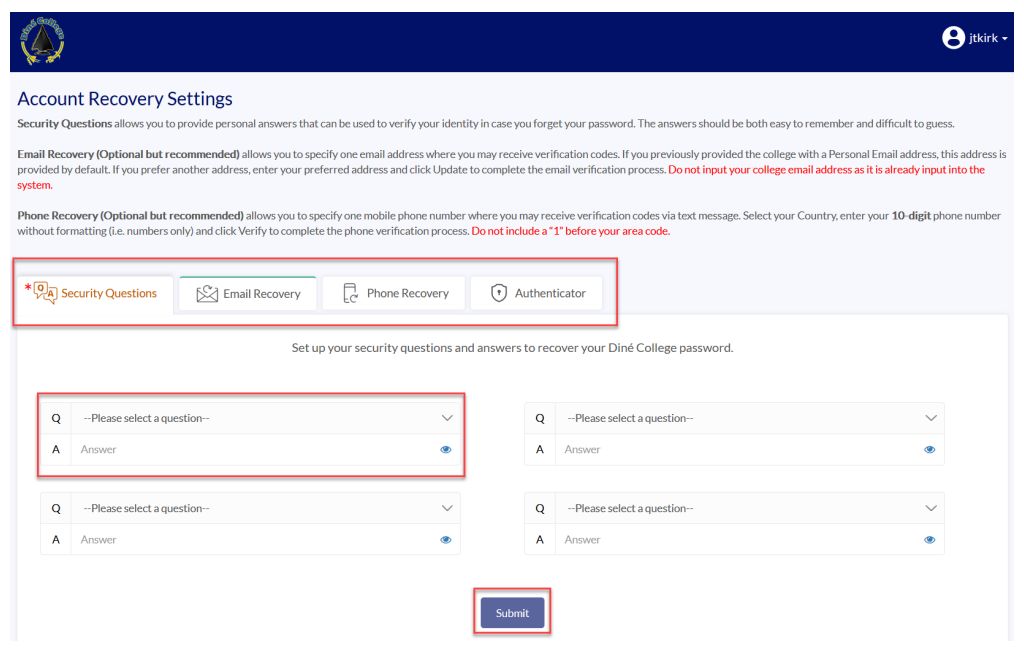
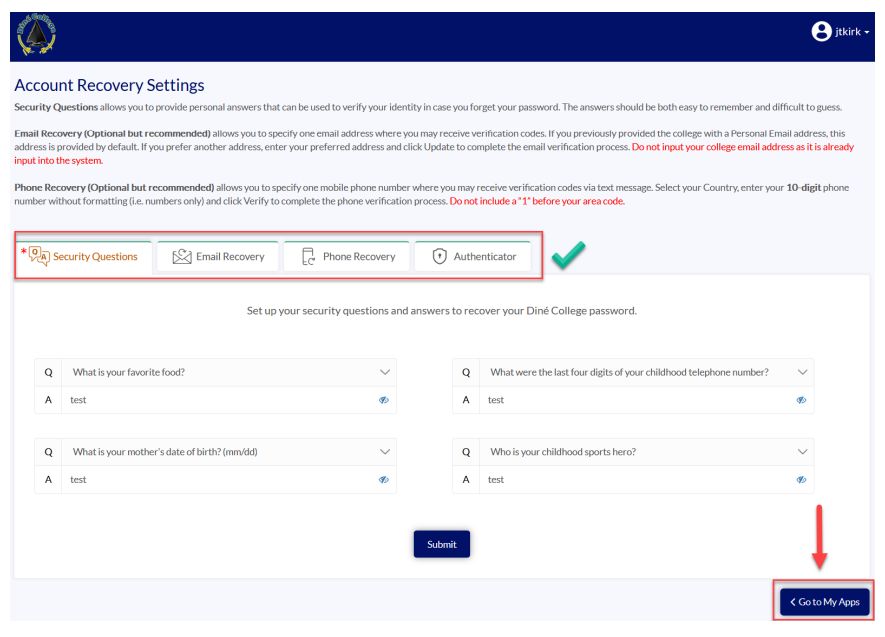
Step 12: Fill in the required security questions and the answers. Click Submit and proceed to step 13.
Step 13: The following steps below are optional (Steps 14-18). If you do not wish to setup your Email, Phone, and Authenticator verification methods, please proceed to step 19. Otherwise, proceed to step 14.
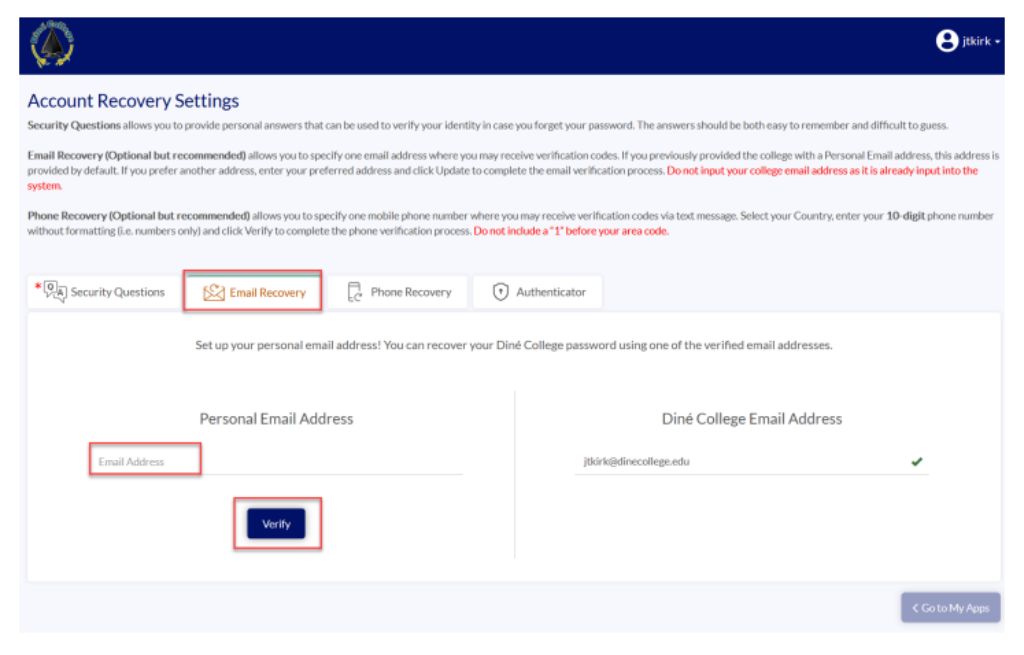
Email Recovery (Optional but recommended)
Step 14: Click the Email Recovery tab. Input a personal email address. Click Verify. It will send a code to your personal email for verification.
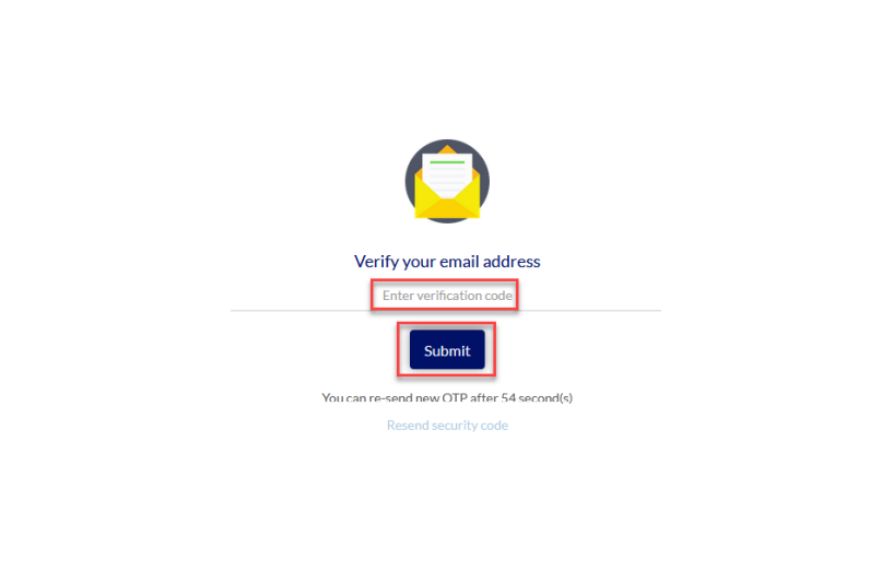
Step 15: Enter the verification code that was sent to your personal email address and click Submit.
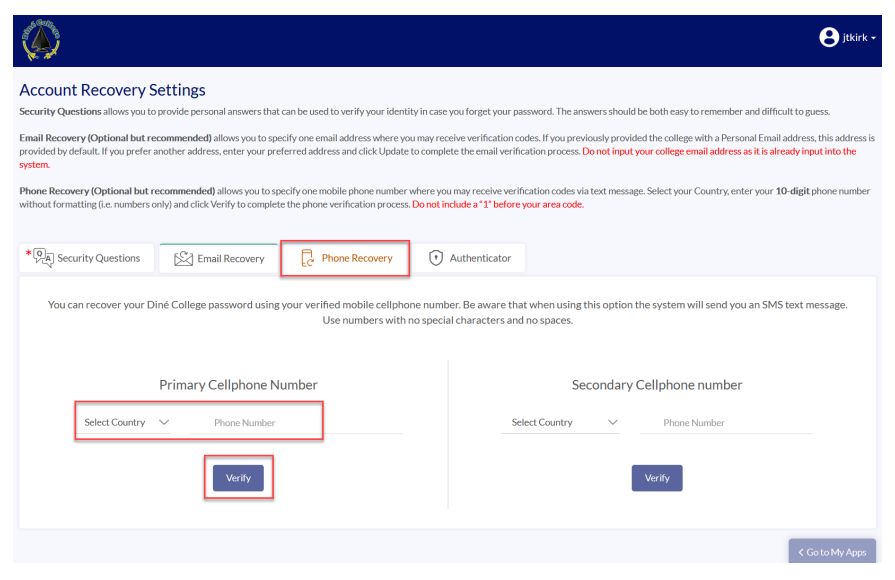
Phone Recovery (Optional but recommended)
Step 16: Click on the Phone Recovery tab. Enter in a cellphone number that can receive text messages
and select the country (e.g. United States). Click Verify and it will send you a text message with the required code.
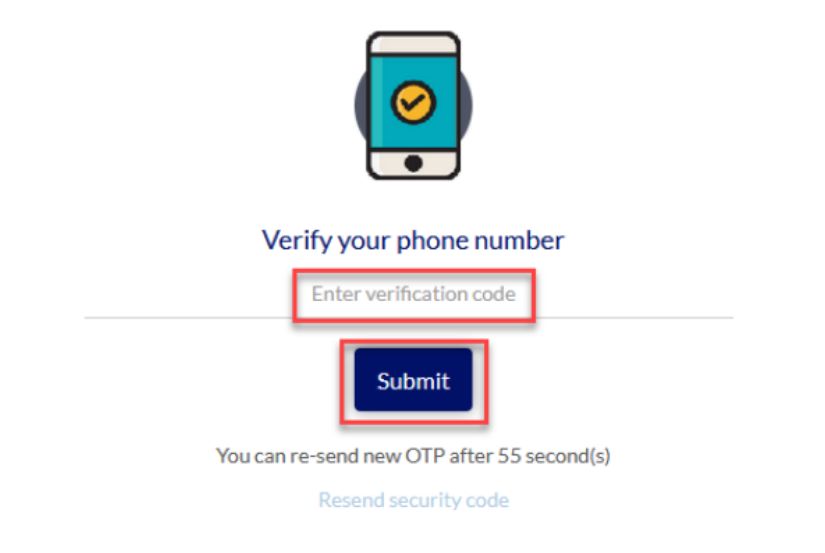
Step 17: Enter in the verification code that was sent to your phone via text message and click Submit.
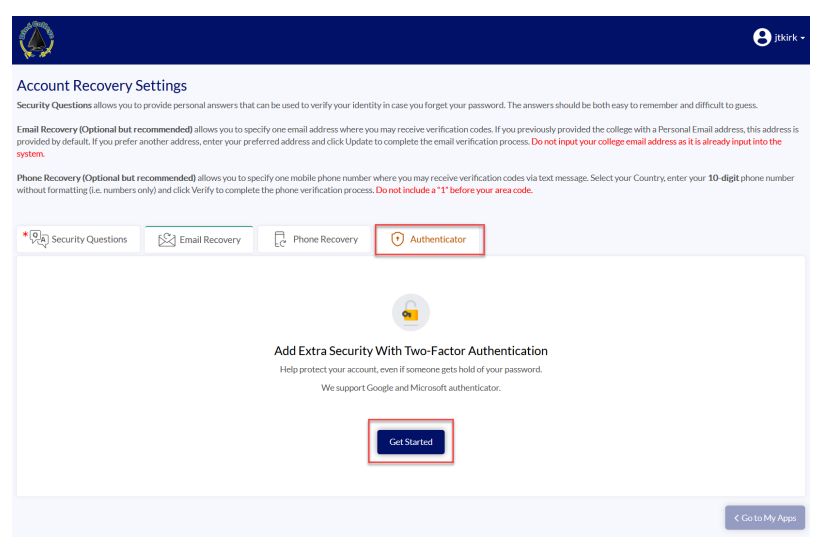
Authenticator (Optional Steps a-d)
Step 18: Click on the Authenticator tab. Here you are able to set up an Authenticator App with the
account. If you don’t want this setup, skip to step 19. Click Get Started.
Apps that can used for Authenticator option: Google Authenticator, Microsoft Authenticator.
These can be downloaded from your app store on your mobile device. (Android or iOS)
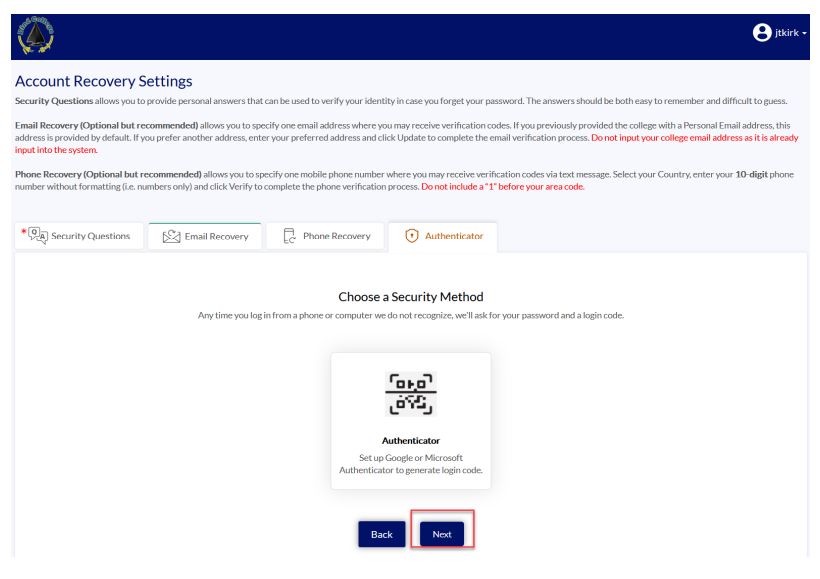
Step 18.1: Click on Next.
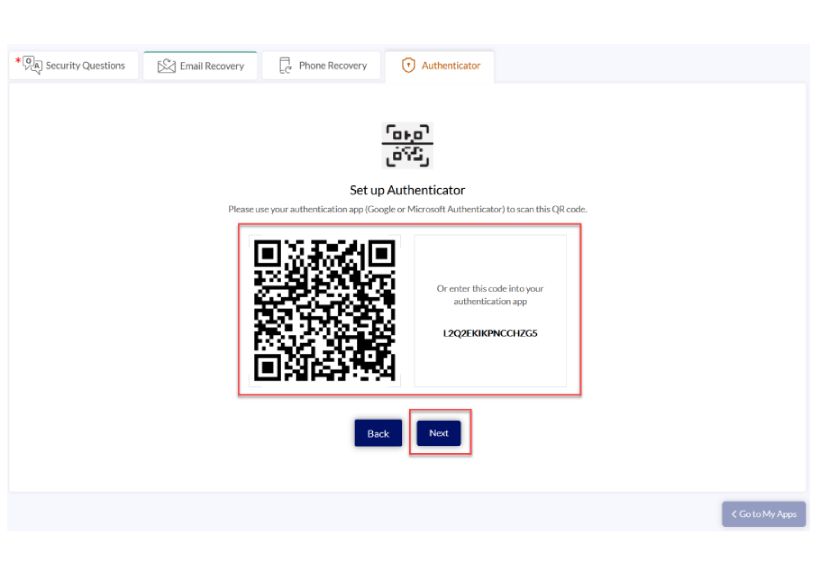
Step 18.2: Scan the QR code or enter the following code into the Authenticator App.
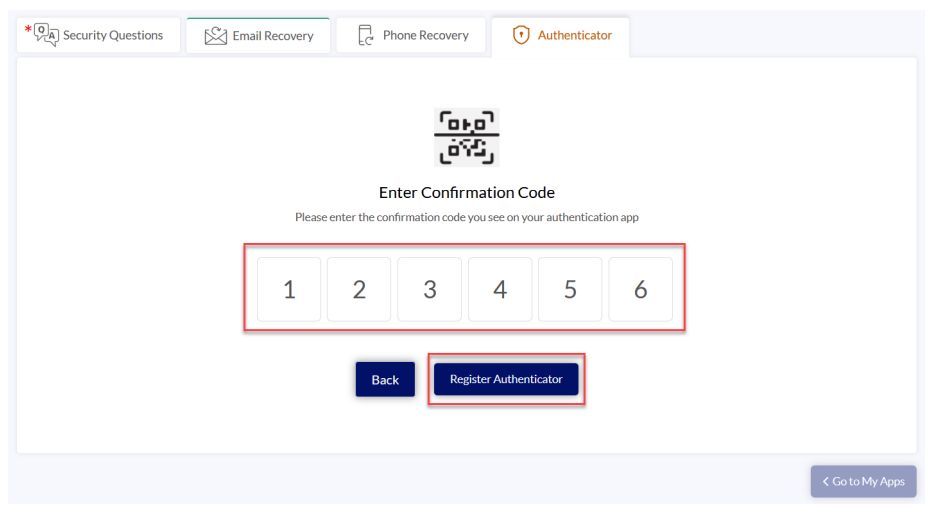
Step 18.3: Once the Authenticator App is connected it will give you a code. Enter the code here and click “Register Authenticator”.
Step 18.4: You will get a confirmation message. Your App was setup successfully!
Step 19: Once you complete all the verification methods of your choice they will show as green at the top of each tab. Some tabs may not be green, depending on which methods you have setup. Click on Go to My Apps located at the bottom right corner
Step 20: You are done! You have setup the Multi-Factor Authentication methods for your account.